Here's the blog post that went with this video from loooong ago. I include it here because it has some helpful cake info in it...
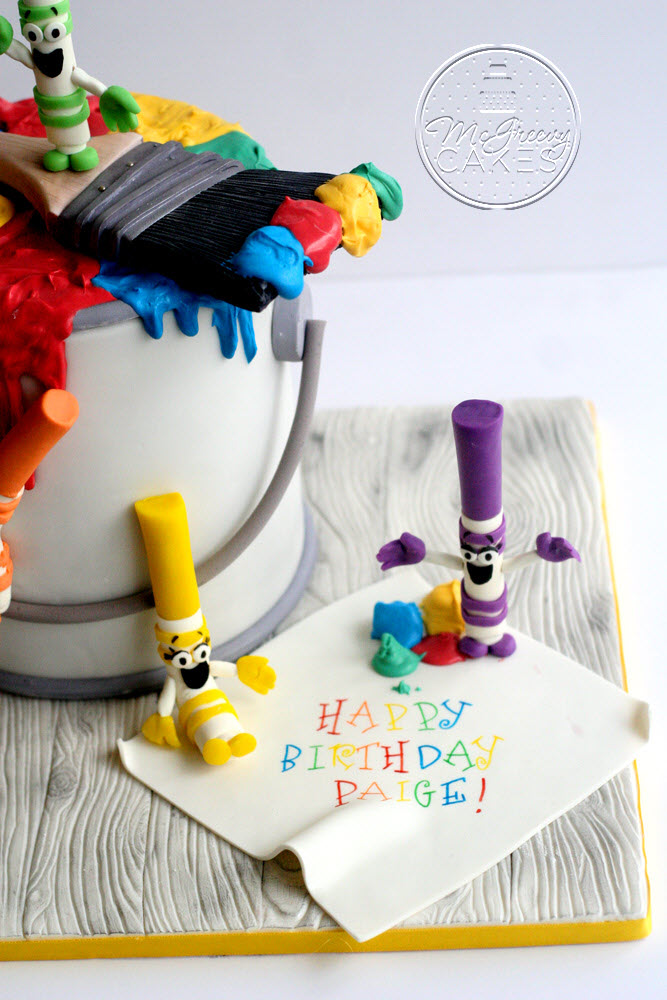
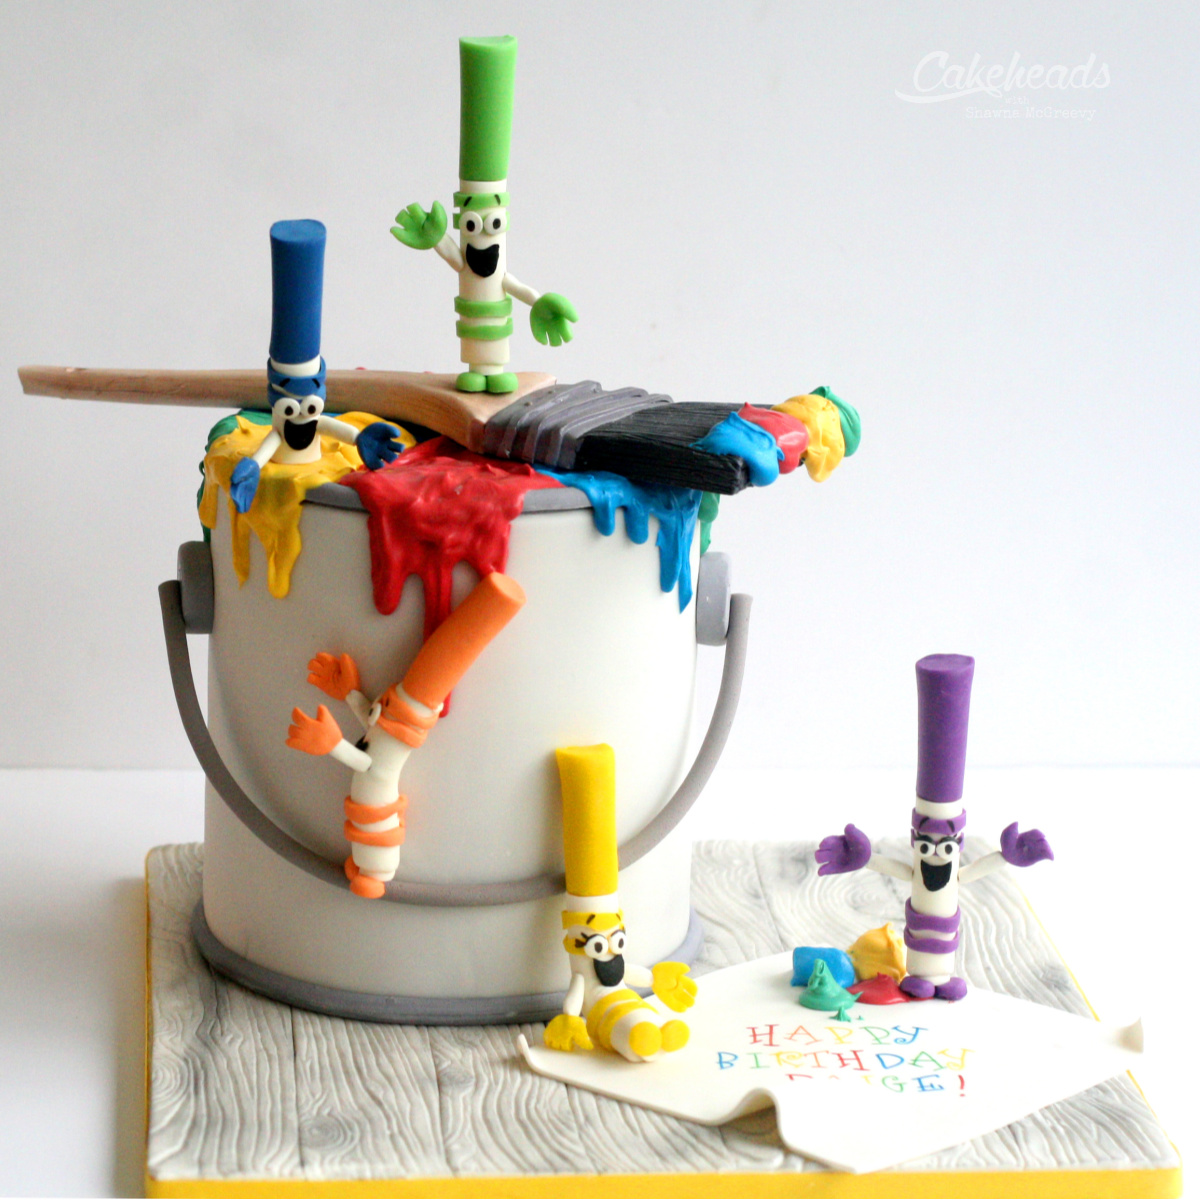
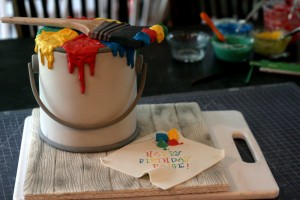
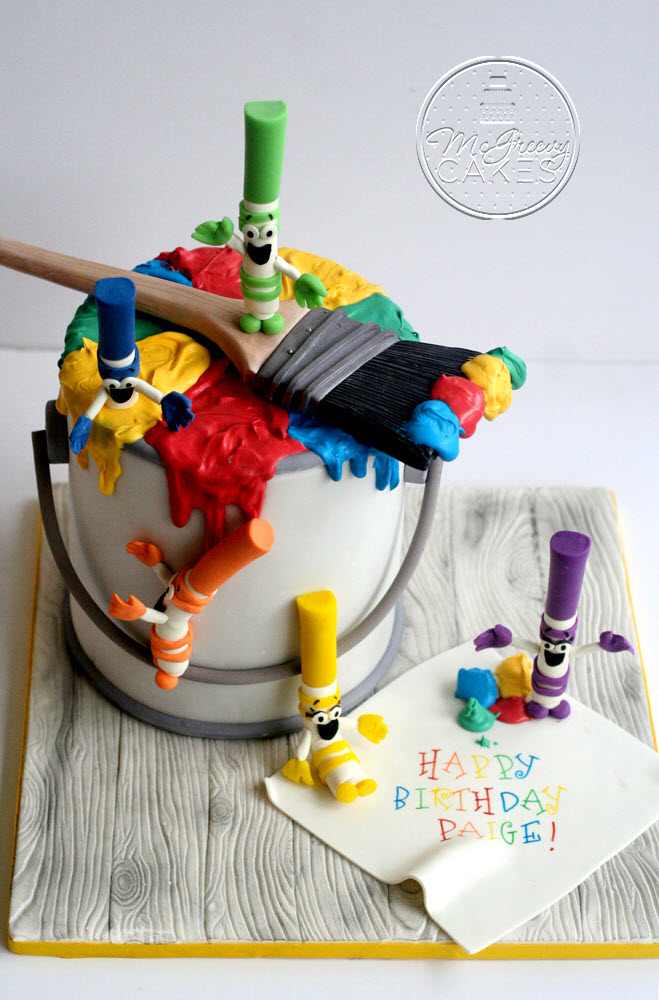
One of my beauty nieces, Paige, wanted a Crayola Art Adventure cake for her 8th birthday, this year. And my brain instantly filled with color.
And paint.
Colorful paint that you can eat, of course.
So I went for the candy melts.
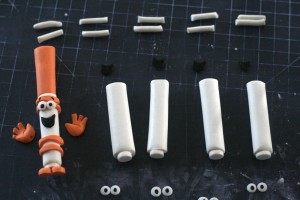
I saw the paint can up there in my head… and I knew the famous (well, famous to all artsy fartsy kiddos, anyway) crayola marker characters would need to be incorporated as well, so I got myself onto Google Images like I do with just about EVERY design I put together, and I looked up “colorful paint can”. (Yes… I know. Thomas often chuckles at me for typing in such literal search words, but I usually find my best inspiration that way. So, there. )
Paint cans with rainbow colors swirled inside of them popped right up… and the design got all concrete-like in my head, quick as a flash. (Must’ve gotten a lot of sleep the night before or somethin’.) The only question was how to go about making the paint.
I didn’t want it too thin, so I knew I couldn’t just paint the color onto the can… but I wasn’t quite sure what medium would work best.
But candy melts work for just about EVERYTHING else in this world, so why not try THEM, right?
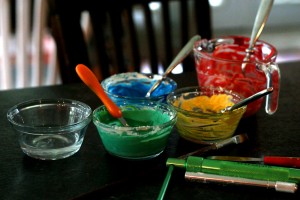
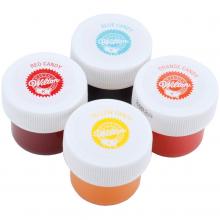
So I did. AND, I happened to have bought some color gels made specifically for coloring chocolate (not water based… OIL based) a while back, which was a stroke of luck since that seemed to be the very easiest and best way to color the white melts that I had on hand. (You can also use petal dusts… but you run the risk of them coming out a bit grainy looking if you don’t stir ’till your arm falls off. And I happened to like having my arms firmly attached, so I didn’t really want ta go there.)
I melted a handful of the melts in a glass jar (one for each color), added the appropriate color gel, mixed ’em up good, and globbed the melts on.
This was one of those “goin’-in-blind-but-hot” projects for me, which don’t always work out so nicely… but God decided to humor me this time, and I thought the effect turned out kindo’ cool and would definitely work for my vision.
So I went to town and let my inner artsy fartsy kid run around and have her day in the sun.
(And don’t ask how four different colors can be separate in the same paint can. I don’t exactly know. And my inner artsy fartsy kid doesn’t exactly care. She’s a li’l sassy like that. ) Xx
Notes on how I made the markers and the paint brush...
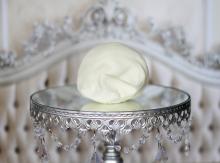
I made the crayola markers and the paint brush out of modeling chocolate. (Click HERE to see my free tutorial on how to make your own, easy modeling chocolate!)
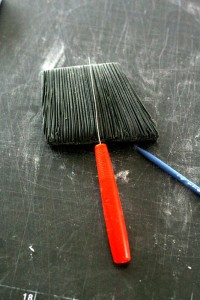
Used the flat metal tool in my Wilton Tool Kit to make the lines on the “brush” and the other blue pointy tool (that’s it’s name, right?) in the same set to makes marks at the edge of the “brush” to give it a more realistic look.
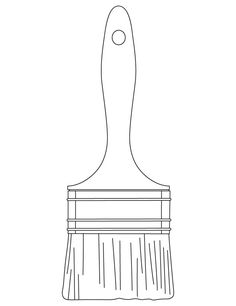
And I printed out a paint brush image/template (found in the photos section of this tutorial as well) to the size I wanted it to actually be and used that as a template to create the appropriate size of the bristle section, the handle of the brush, and the "metal" section.
I marbled some white and brown gumpaste together, rolled it out keeping it very thick, and then placed the cut-out template over top, traced around it and used that to cut out the right size handle.
Same idea for the silver part only start with grey fondant and then also cut out thin little strips to wrap around it to create the metal look, and paint it with edible silver paint. You can add little silver sugar pearls to it as well to complete the look.
To attach all three sections together, you can run a wooden skewer through them and some water or edible glue at the edge of the sections.
Make sure to make the brush a couple of days ahead of time if it's going to hang off the end of the cake like mine. It needs ample time to dry or it may sag a bit.
Used my edible food coloring markers to write the birthday message onto a dried piece of gumpaste “paper” I made.
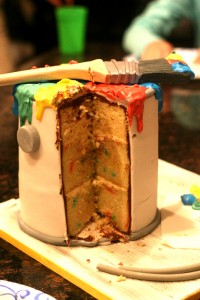
I didn’t make QUITE a double barrel cake, but I did extend the height from my normal 5″ to more like 7″ tall. And because I decided not to add supports to help keep it stable, I made sure I iced it with ganache instead of buttercream. (And I have a free video tutorial on how to ganache a cake with sharp edges on, in the fundamentals course on Cakeheads!)
Check out this video tutorial on how to make modeling chocolate or this live session recording that is all about modeling chocolate and making a rose, too.


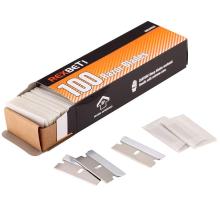
Each package includes 100 SUPER SHARP industrial single edge razor blades
Individually Wrapped by Antirust Waxed Paper, Only by RexBeTi
Fits most standard scrapers and carton cutters
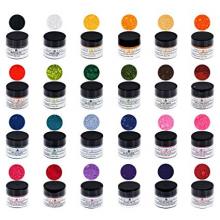
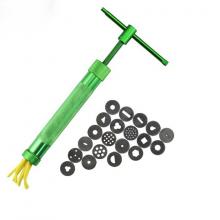
Length: 6.5 inch / 16.5 cm
Diameter: 0.9 inch / 2.2 cm, Bottom Inner Diameter: 0.6 inch / 1.6 cm
