Making a Panda & Cherry Blossom cake! Picture Tutorial
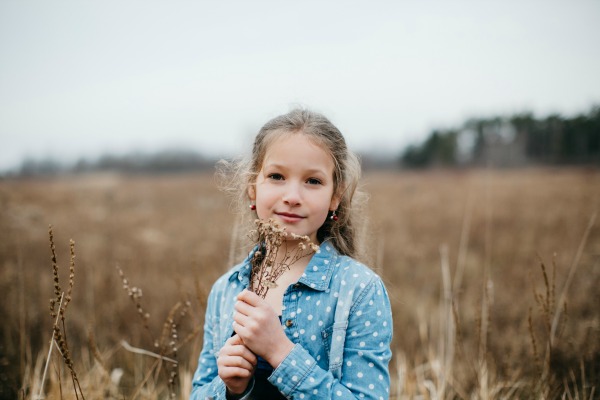
My Sofie is my artist.
She’s our second born.
Our spunky, fun-loving, deeply passionate, seriously loyal, and tell-you-like-it-is (unless it’s gonna break you), second born who just turned ten years old.
And I wouldn’t be surprised if her picture is plastered right next to the word “artist” in the dictionary.
‘Cause this girl can NOT stop creating.
I’m not gonna lie, though… it used to drive me NUTS.
I know, sad right? I mean, what kind of mom needs to turn around and slowly count to ten to rein in the can of whoop… (err, you know what) she very nearly unleashes every time she gets wind of the fact that her kid’s about to start a new project?
Apparently, this kind.
Me.
But in defense of my past, dangerously low tolerance levels for my child’s creativity (ohmygosh, that sounds so wrong), I have but one word to share with you…
tornado.
Which is exactly what it seemed as if all living spaces in our humble abode had encountered after each episode of Sofie starting a new project.
A TORNADO.
You think I’m exaggerating.
I wish I had pictures of the destruction so you’d know how wrong you are.
Hence, the slow counting therapy.
BUT, while each time my temper was threatening an internal explosion, and my tongue was in danger of permanent damage due to its constant, severe hemorrhaging, I DID recognize the fact that I did not want to stifle my daughter’s creativity in (hardly) any way.
So I dug down deep, put on my purple plastic work gloves, and proceeded to show my second born just how to properly clean up the aftermath of a F-5 tornado.
And then to inform her that there would be no new projects in our house of ANY sort unless she became an expert at it.
Today, I am happy to report that while there was some definite weeping and gnashing of teeth along the way, Sofia has, in fact, successfully added the art of “clean up” to her repertoire … giving my tongue a chance to heal, an ice bath for my temper,
and room for all of the creativity my little artist can muster up.
(Except while I’m in the middle of making a cake, of course.
Two tornadoes colliding isn’t something you EVAH want to encounter.)
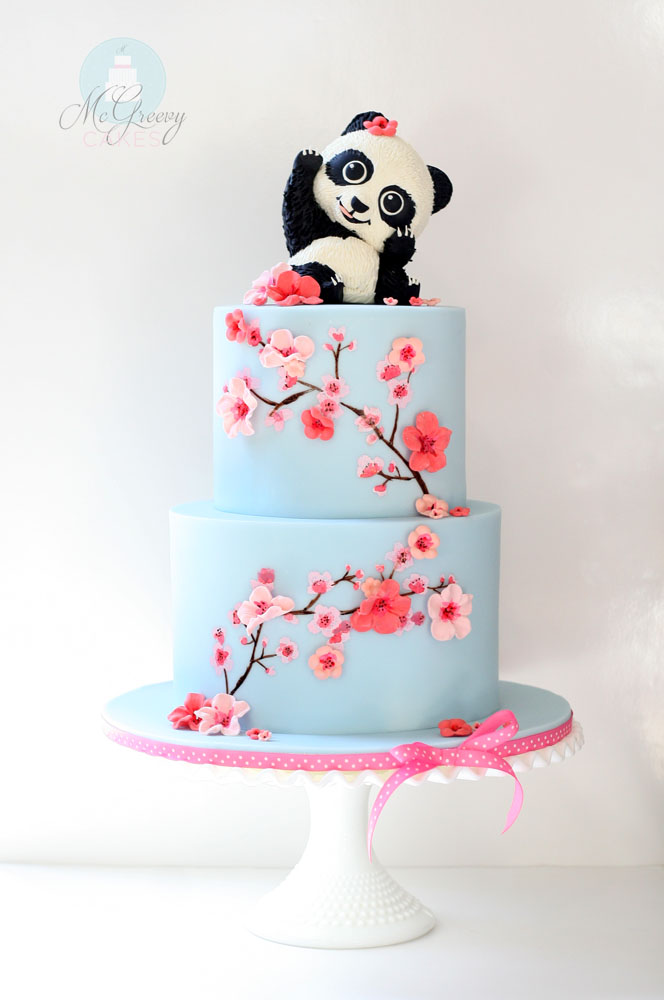
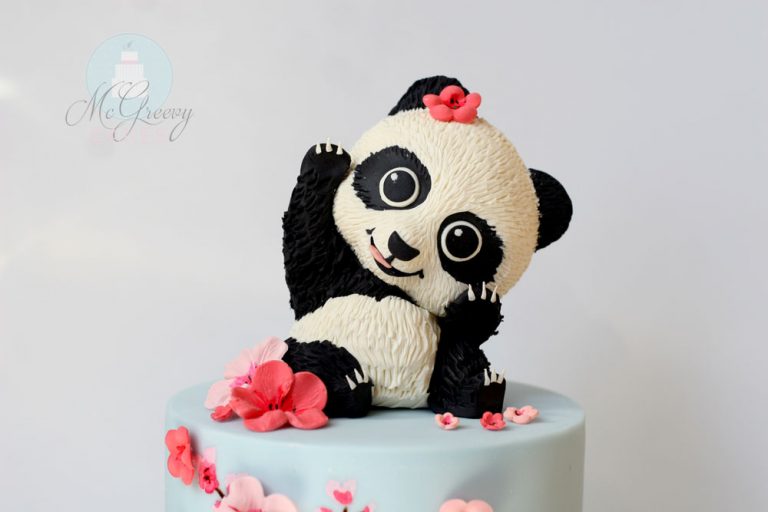
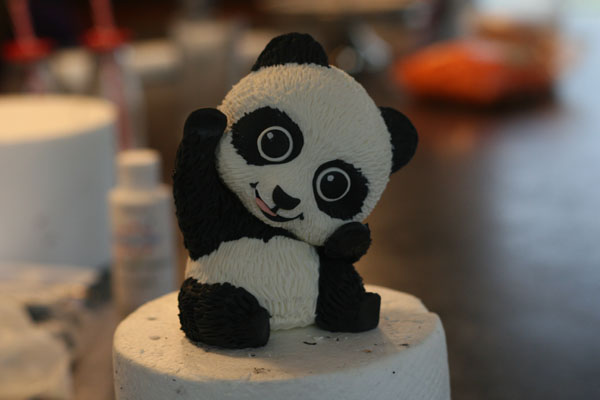
Sofie and I worked together to design her birthday cake this year. And somehow that little panda on top reminds me of her.
Sassy, fun and happy…
and, I’m sure, SERIOUSLY good at cleaning up her messes. Xx
How I made the cherry blossoms and tips on making the panda topper…
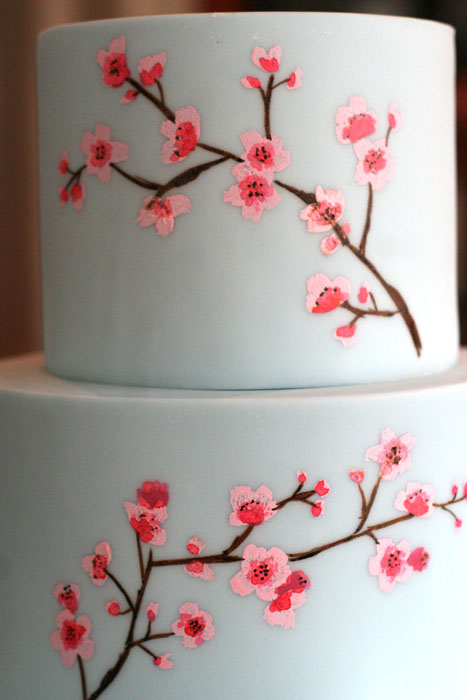
I mixed a tiny bit of pink food gel color into some white food gel.
LOVE this paint brush set as it also has an angled end to help scoop and mix various mediums!
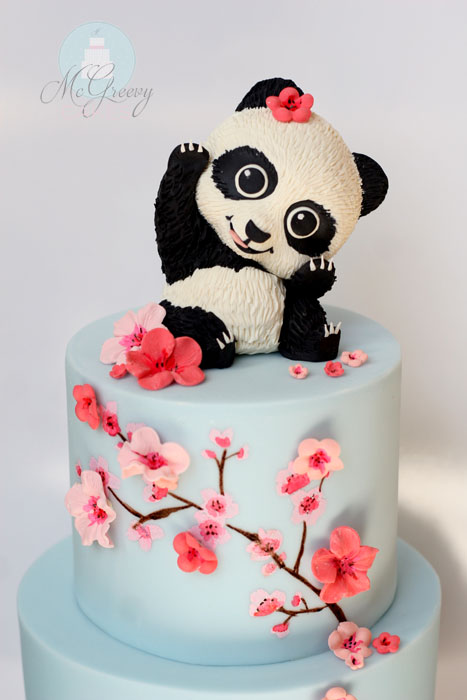
I decided where I wanted the blossoms to be, and while using a Google image of a cherry blossom branch I found online, I just dabbed on blobs that resembled petals… some to form full blossoms and some to form folded over blossoms and buds.
Then I mixed the same pink gel color with just a LITTLE bit of white to get a darker shade.
And again using the online image as a guide, I blobbed on color in the middles of the open blooms and the bottoms of the folded over blossoms and buds.
Then, I mixed up another shade… one that was sort of in between the dark and the light pink.
(Use a little Everclear, vodka or extract to thin out your color if you need to.)
This third shade I just added on top of and slightly off center of the darker shade, just to give it one more added dimension of color.
This is what I like to call “Moneting” it. It doesn’t need to be perfect… it looks just like it should from far away and is “artistic” up close. 😉
I also drew in some connecting branches and little dots in the center of each blossom with a thin paint brush and some brown airbrush food color.
Then, to give the look a WHOLE new dimension, I added some 3D blossoms I made with modeling chocolate and a blossom cutter and veiner set.
I attached them onto the cake with melted candy melts and painted the centers of them just like I did the 2D ones.
Finito!
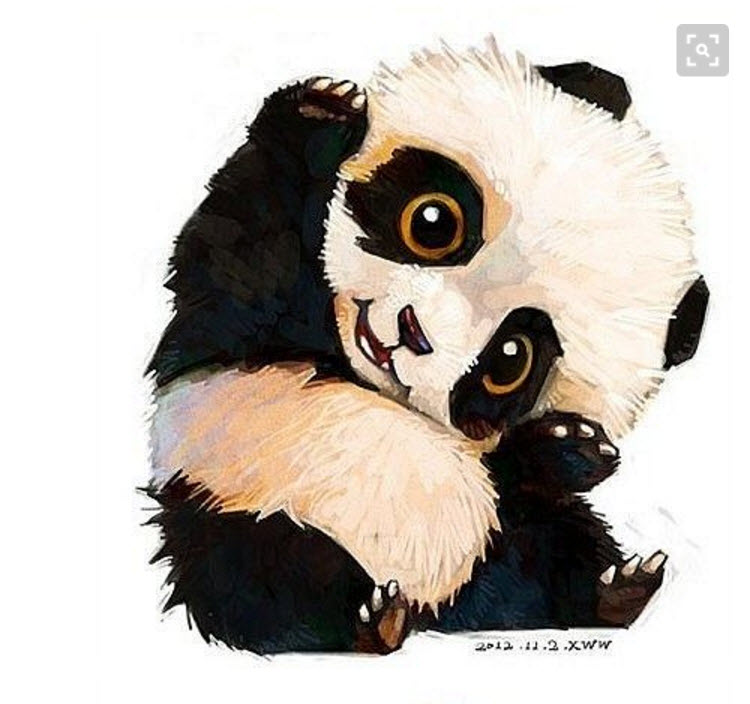
I modeled Sofie’s panda after this image we found online.
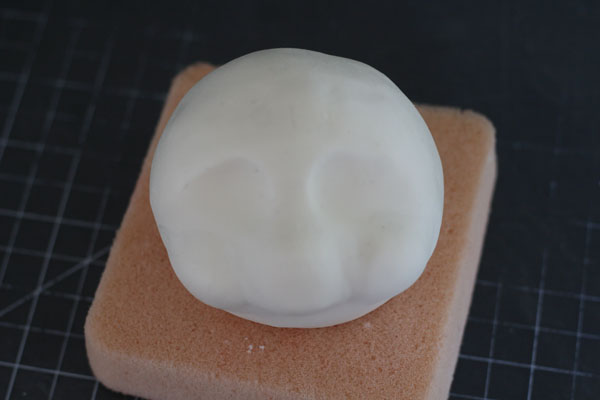
I used modeling chocolate with a small styrofoam ball pushed into the middle to make the head,
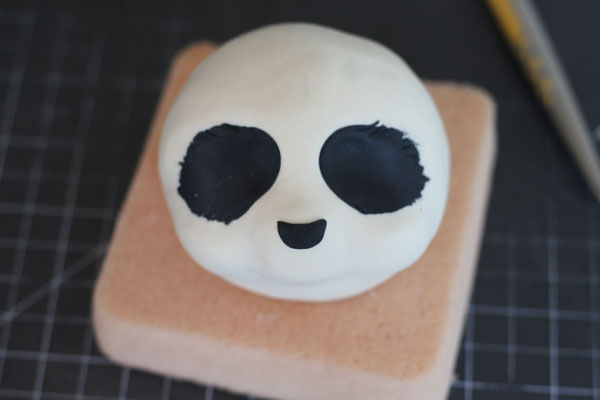
and then I pushed in sockets for the eyes with my (weird) thumbs.
I added round bits of mod choc to the snout and cheeks by smoothing it on and blending in the edges with my fingers and my sugar shapers.
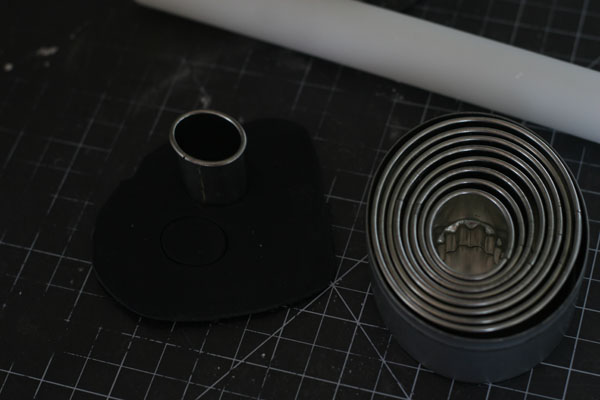
Used my oval cutter set to cut out the eyes.
And then used my sugar shaper to score the edges a bit to look like fur.
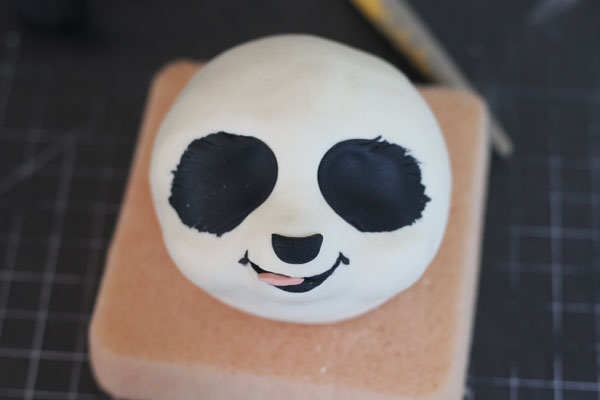
Added a nose…
and cut out a moon shaped section for the mouth, which I then filled in with little rolls of black modeling chocolate that I carefully smoothed into the crevice.
I had to add a little pink mod choc tongue.
Couldn’t resist.
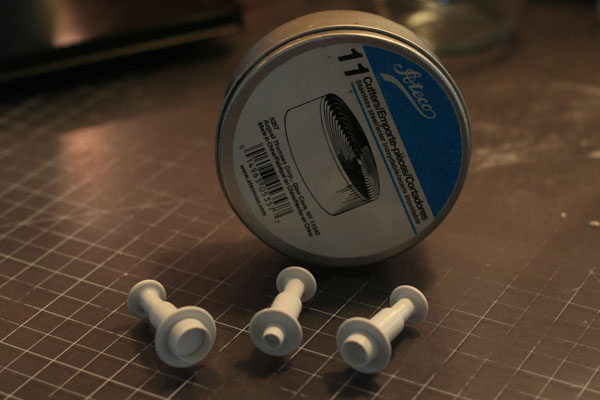
I used my round cutter set to cut out white and black discs for the eyes,
and then added a dot of white gel color to them to show the “reflection”.
(This cutter set may be my most used tool set, EVER. It creates nice, small circles for eyes and lots of other things!)
I used my angle tip sugar shaper to score lines of fur in a pattern all over her face.
And then made the rest of the body out of separate chunks of mod choc that I blended together, starting with the white belly and then adding the legs and arms.
I poked a wooden skewer up through the neck and into the head, and when the body was finished I pushed the head and skewer down into the body with extra sticking through the bottom so that it would push down into the cake when assembled.
But before I placed the panda topper onto the cake, I cut a bubble tea straw to the height of the cake (like you do when stacking cake tiers) and pushed it in under where the panda would be sitting, to help support the panda’s weight.
And THEN I cleaned up the mess in my kitchen. 😉
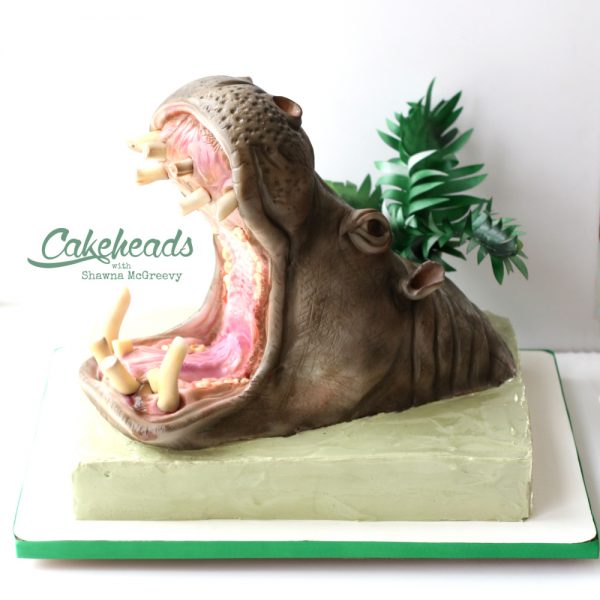
Become part of the Cakeheads family on Cakeheads.com and get access to ALL of the tutorials on the website, like this full, step by step, hippo cake video tutorial!
We’d be honored to have you with us. Xx

